Damn Good Chili
Okay, so I made this chili today
and took pics and everything to share. Chili is one of those dishes that can be
made a million different ways, but if you want a super tasty family friendly
version -this is the chili recipe for you.
 ½ lb pork sausage or ground pork
Ingredients:
2 lbs ground beef
 ½ lb pork sausage or ground pork
4 cloves chopped garlic
1 chopped onion
3 Tbsp chili powder
2 Tbsp cumin
2 tsp paprika
2 tsp oregano
½ tsp ground coriander
1 can beer
1 can tomato sauce
1 can kidney beans
1 can black beans
1 can tomato paste
2 Tbsp beef bouillon
1 Tbsp sugar
1 tsp cocoa powder
1 Tbsp hot sauce
1 Tbsp cornmeal
1 Tbsp flour
1 cup corn
Start out by browning the meat in a
big dutch oven or heavy pot. Use pork as well as ground beef to add more
flavour. Also, use lean ground beef! If you cook it well, it doesn’t require
draining.
I used half a tube of frozen pork sausage. Easy to cut with a bread knife.

 |
| just wanna clarify, this the meat "still cooking", about 5 mins before adding other stuff! |
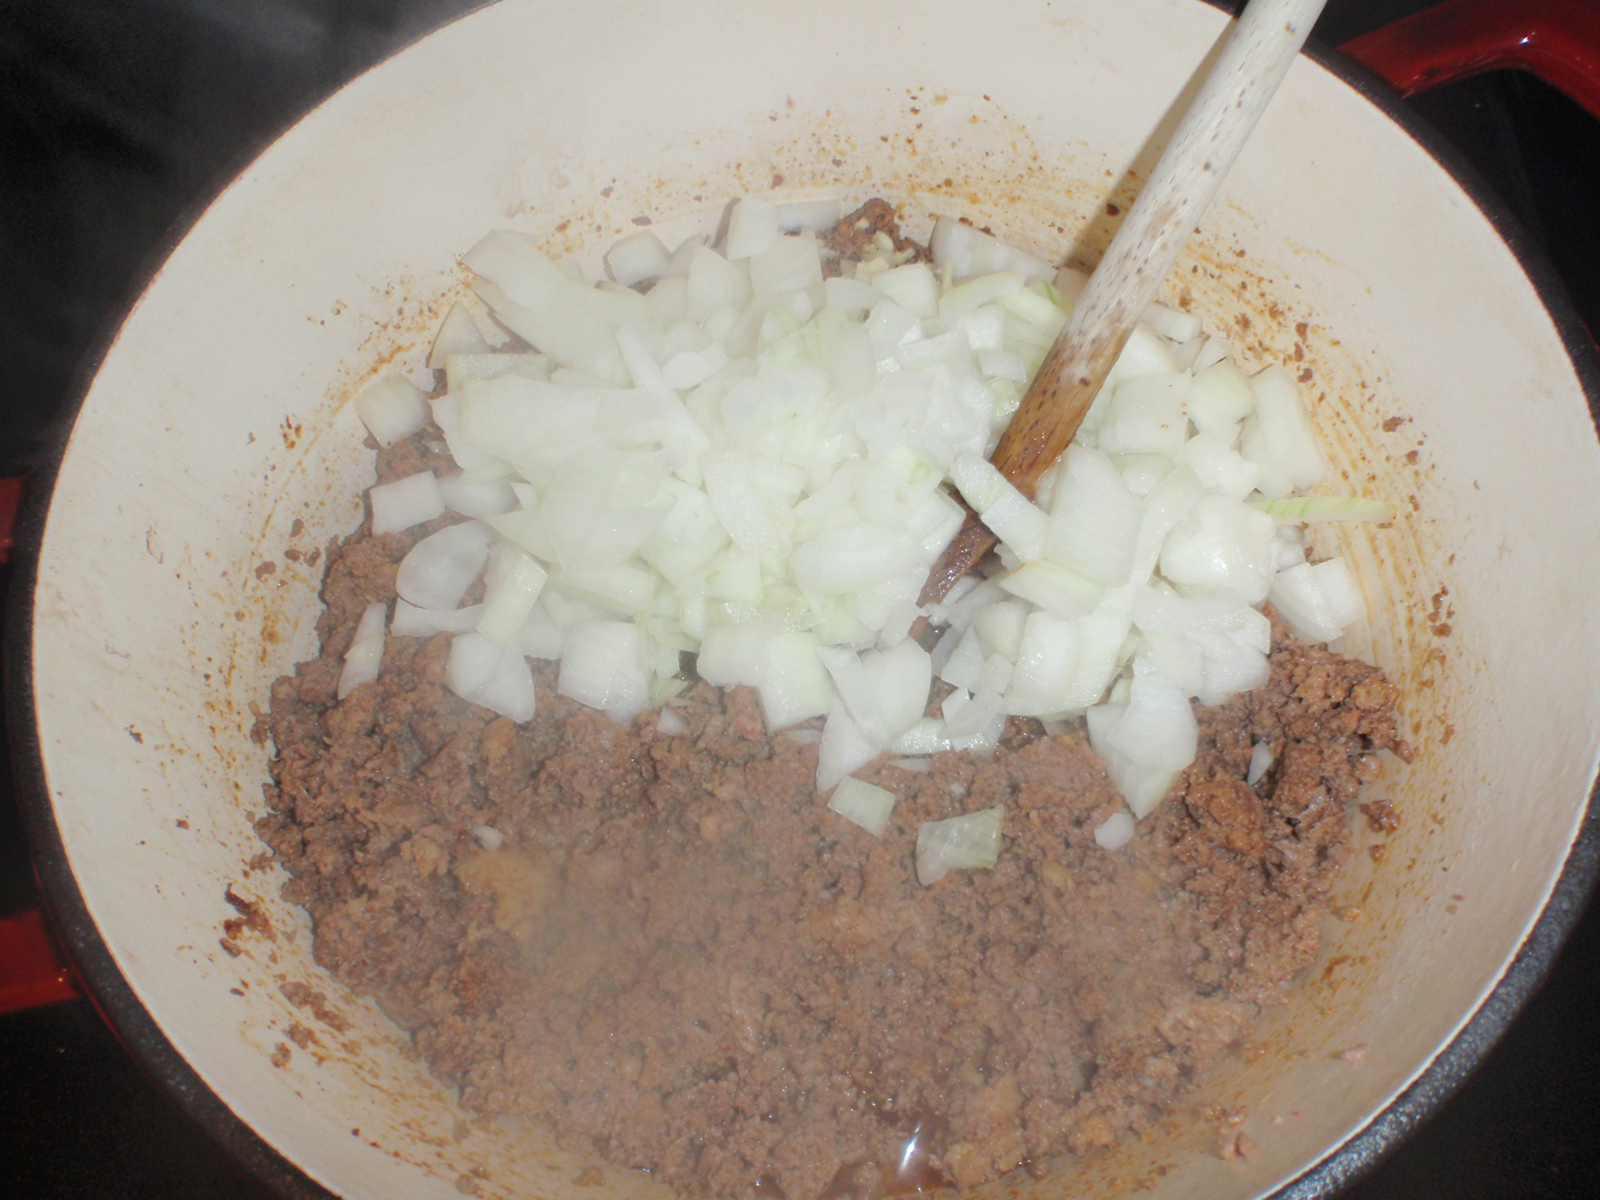
Once the meat is good and cooked, add the onion and garlic and cook
some more.

Then add the spices, stir and cook a couple of minutes. I like to add the spices at this stage in order to “toast” them a bit. Some of the spice will cook out by serving time, and you will have to taste it and possibly add some more spice at that time.

 |
| This is after I added the beer! |
After the spices are added and cooked in, add the
rest of the ingredients minus the corn. Corn certainly does not need to “slow
cook” all day long. Add the corn like ½ hour before serving. Cover and simmer
the chili for the day, stirring every so often. Or cook it the day before and
re-heat for serving.
PS might have to add a cup of water. Enjoy!
PPS Oops, I forgot to take a pic of the final result. So just imagine a pic of a bowl of (good looking) chili, with a dallop of sour cream and a sprinkle of cheddar cheese on top!
PS might have to add a cup of water. Enjoy!
PPS Oops, I forgot to take a pic of the final result. So just imagine a pic of a bowl of (good looking) chili, with a dallop of sour cream and a sprinkle of cheddar cheese on top!
Skillet Cornbread
I always make cornbread to go with my chili, and here is a really good recipe that I altered and made last night! Using a cast iron pan makes for a crusty crust and looks cool too :)

Ingredients:
1 ½ cup cornmeal
½ cup flour
½ tsp baking powder
½ tsp baking soda
1 tsp salt
1 egg
1 ½ cup buttermilk
¾ cup margarine (divided)
Heat your cast iron pan while preheating the oven to 450 degrees. In a bowl, whisk together the cornmeal, flour, baking powder, baking soda and salt. Add eggs, buttermilk and 1/2 cup melted margarine, and quickly whisk together!
Remove your HOT skillet from the oven, add 1/4 cup margarine and let it melt. Pour batter into pan and bake for 15 mins.
Tip: if you don't have buttermilk on hand (and who does), then put regular milk into a cup and add a Tbsp of lemon juice or white vinegar.
My yummy yummy easy Cocoa
Brownies

Ingredients:
3 eggs
1 ½ cup sugar
2 tsp. vanilla
¾ cup veg. oil
¾ cup flour
½ cup cocoa powder
1 tsp. baking powder
pinch salt
1 cup chopped pecans or walnuts
icing sugar
Start by beating the eggs, then
add the sugar and mix away. The secret to these brownies is a lot of sugar… not
gonna lie. Then add the vanilla and mix. Add the oil, flour, cocoa, baking
powder, and salt and mix until … mixed. Finally add the nuts. My trick for
chopped nuts is: always buy whole when it comes to pecans and/or walnuts. Whole
is just better. Put the required amount of nuts in a sandwich baggy and beat it
with a rolling pin. NOT too much, just enough so they look right (not powder).
Prepare your 13 x 9 baking pan A LOT with cooking spray and pour in your
batter. Make sure it is evenly spread before baking at 350 degrees for 25 mins.
PS Okay, so when I say A LOT of cooking spray, I mean spray the crap out of it. These brownies have a tendency to stick (all that sugar!). They will be fine if you spray well, and use a fork as a "spatula" to pop them out.
PPS dust with icing sugar when they are cooled


